


 Let it snow,
Let it snow let it snow..... I'm feeling all excited about Christmas. Today the girls and I went to our local garden centre and ended buying a miniature village Christmas scene of shops that have moving people and lights! They are ridiculously expensive and I can't believe I'm in to it but boy I am! I've also booked for us (Glen, me, Merina and Tallulah) to do a 40 minute "experience" with Santa which involves him reading us a fairy tale!!! AND we all sing a carol with him, I can't wait to see Glen singing with Santa!! 
My super friend and professional photographer Hayley (Check out her blog shes doing some great family Christmas shoots at http://shutterfliesuk.blogspot.com ) took some pictures of our darlings making Christmas Baubles. The kids and mummy's had great fun doing this, its easy and makes a great keepsake for your tree! Give it a go!
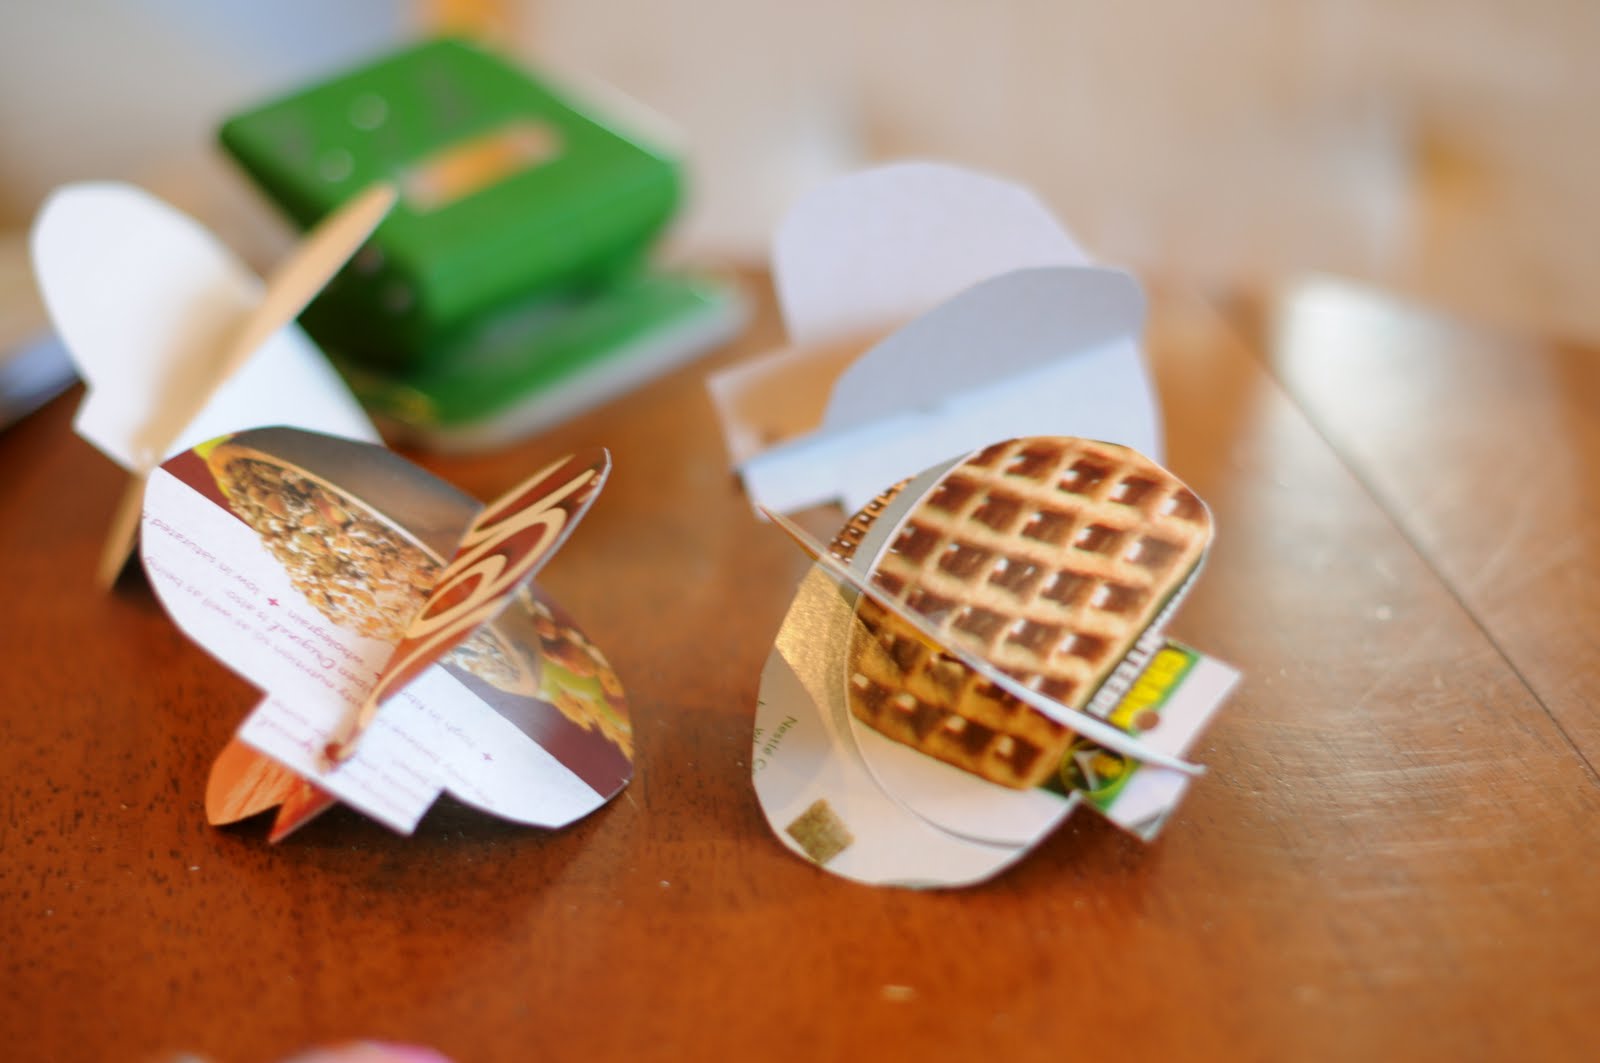
My super friend and professional photographer Hayley (Check out her blog shes doing some great family Christmas shoots at http://shutterfliesuk.blogspot.com ) took some pictures of our darlings making Christmas Baubles. The kids and mummy's had great fun doing this, its easy and makes a great keepsake for your tree! Give it a go!
Whats Needed
- Cardboard - I used cereal boxes
- Coloured tissue paper
- PVA glue
- Glitter!
- Christmas stickers
- Ribbon to hang
Method
- Cut the cardboard into bauble shapes. Make one small hole at the top to hang it up. I made them 3D by cutting a slit half way down one cut out and cutting a slit half way up the other cut out. Then slide them together to make one 3D effect bauble! Check out the picture!
- Glue all over the baubles stick the tissue paper all over, cover in glitter and stickers. Leave to dry and attach some ribbon in the hole and hang up on your tree! How lovely!
No comments:
Post a Comment